
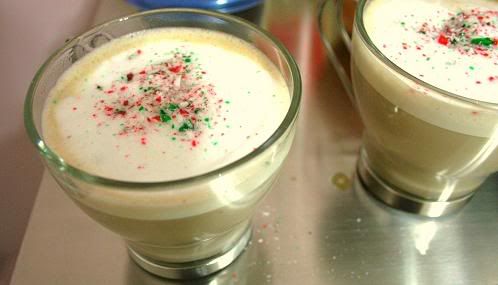
Forgive me for rhyming, but once I had the 'three' in that sentence, I couldn't help myself. To make the experience a little more festive, I made some peppermint lattes, unfortunately the Candy Cane Biscotti I had made a week ago has been devoured. I need to find time to make more.
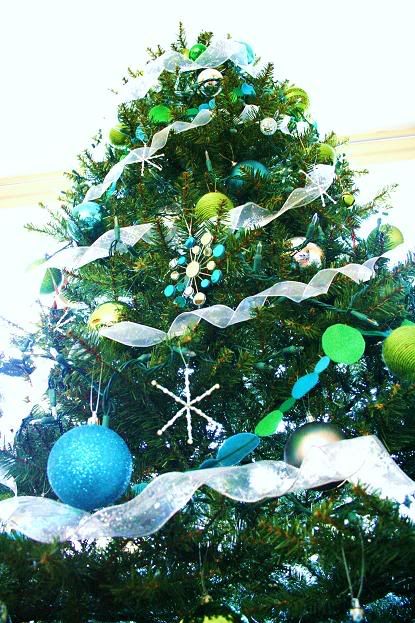
Here's our tree, it's still not the finished product, but after several years of wanting so badly to decorate with turquoise and green I've finally seen it through. I've a lot of decorations left to make for it, I'll post a much better photo once it really feels complete.
Along with the bulbs covered with yarn I've also made beaded snowflakes. Like the up-cycled bulbs this is also very straight forward. So here's a quick decorating idea/not-so-in-depth-tutorial.
I'm a pack rat, so I didn't need to purchase any new supplies. I happy to have finally put these beads to a second use, I used them a few years ago to make the jewelry for my wedding. Call me cheap, I like it.
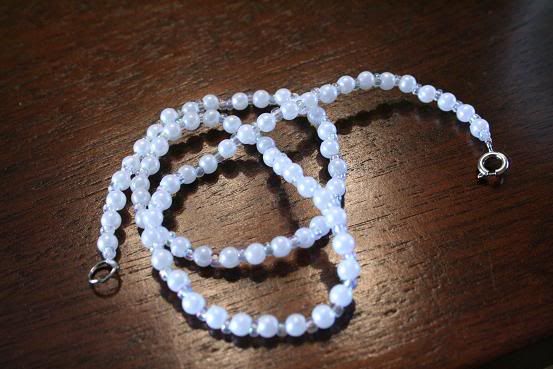
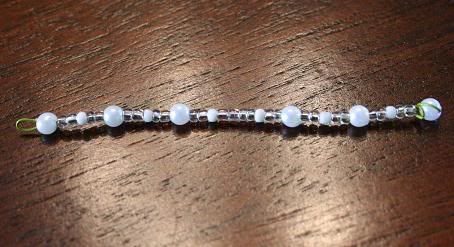
Below is a trial necklace I made before switching out the seed beads out for crystal cut glass beads. The reason I've included a shot of this, is because for those who have old beaded necklaces laying around this is a great opportunity to up-cycle those into something new!
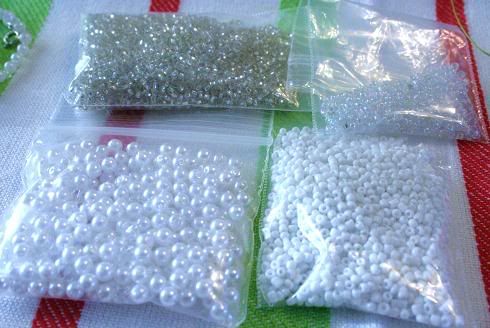
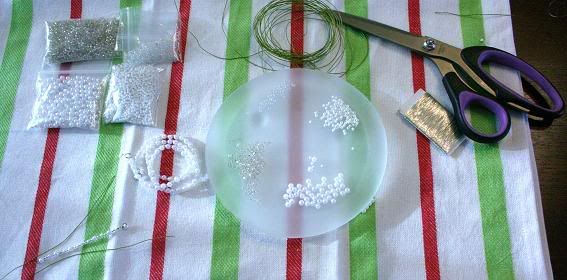
here are the supplies I used, some heavy duty floral wire (also left over from my wedding, silver wire may be more suitable, but be sure to buy a good sturdy gauge), scissors (very strong once, since I used them to cut the wire, but a small pair of wire cutting pliers would work wonders in this craft, I have some but couldn't find them), beads and some lighter gauge wire.
Cut a length of wire, however long you would like the diameter of your snowflake to appear, and add an extra few centimeters. Wrap the wire around one bead, to create a stop on one end. fill the wire with beads, keep the beads a little loose on the wire. Wrap the wire at the other end. Create three like this.

Find the center of your wires, and twine the three completed arms of the snowflake together. I used some lighter gauge wire to make sure everything was secure afterwards. If these steps make you nervous, hot glue will work fine to keep the three parts of the snowflake together.
I attached a loop of fishing line to hang it with.
 The finished product:
 Simple? Yes, very. It's a little time consuming, but very pretty. Another use would be adding it to a gift tag as a decoration/added gift. Extremely cost effective. Happy decorating readers!
4 comments:
Hey Crystal Lynn - I just might use the beaded snowflake craft at a Christmas Family Event we are having on Dec. 5th. Thanks for the tips and the beautiful photography!
Rochelle
I love your crafty ideas. :o)
That peppermint latte looks really good!
Cute snowflakes too! Love the colors on your tree.
Happy Thanksgiving and Merry Christmas
mmmm...peppermint latte! I love those mugs, and the snowflakes turned out really nice, too.
Post a Comment