
Really enjoying Reliant K's Christmas CD!
Here’s a better shot of my tree than the one I posted before, I’m really loving it (it’s ok if it’s not your style, we used to be the types to have a VERY traditional tree, but I wanted to try something different).
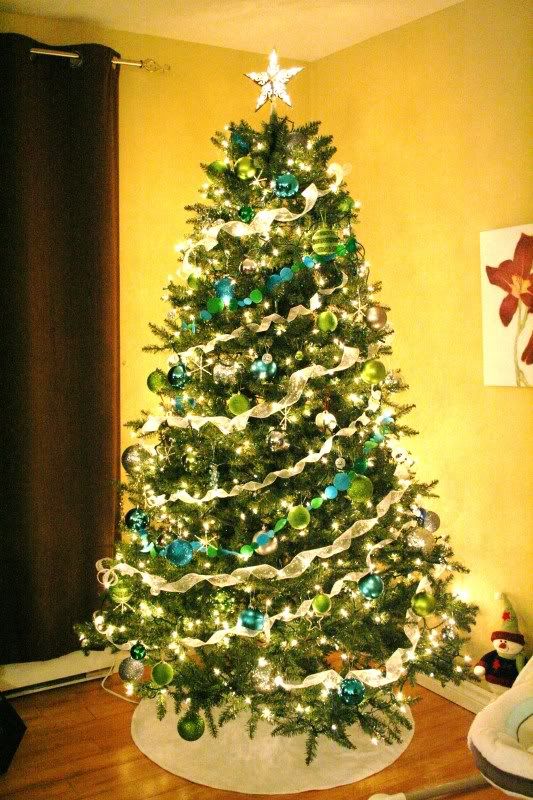
I’ve made a nice few things to put on this tree, to cut down on the cost of having to buy a lot of new decorations. If you notice there’s green and blue circles in a sort of garland on the tree (I need to make more of this). I’m going to post a few pictures on how to make this, very easy, very economical.

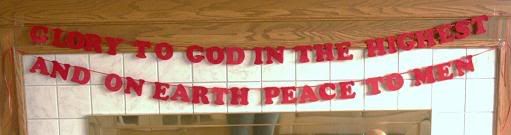
I’ve used the same method to make some Christmas themed banners, and since I needed to make one, the tutorial is based on the making of these banners. The circle garland is made the exact same way.
Today’s tutorial, making ‘garland/banners’
.
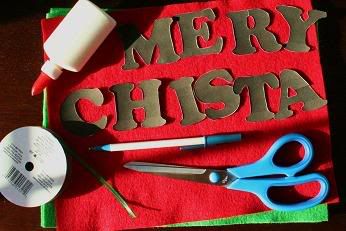
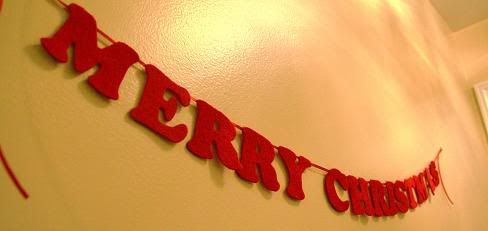
Here are the tools you'd need. Here I'm making a banner that read's Merry Christmas. I created my own stencils on the computer and printed them onto card stock. If you don't have card stock, then simply print them on regular paper and then glue onto an old greeting card (or two) and then cut it out. If you can't seem to find a font on your computer that you love, try going to dafont.com and check out some of the fantastic free fonts they have there. To make circle garland, or any shape at all, just make the shape stencil you require. For my circles I used four different sizes.
.
I'm also using felt, ribbon, white glue, scissors, and a good pen.
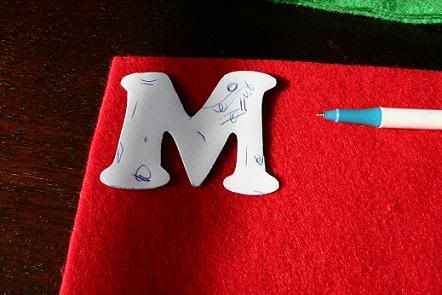
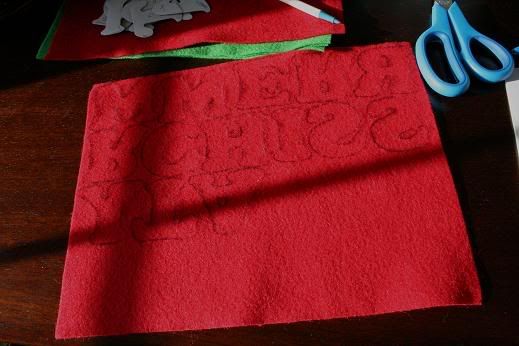
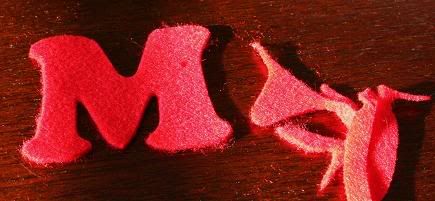
Once you've cut out your letters, trace their shapes onto your felt. It's best to turn each letter over, this way the ink of your pen will be on the back of the letter you create. This way you won't have tell-tale ink marks on the outside of your banner/garland.
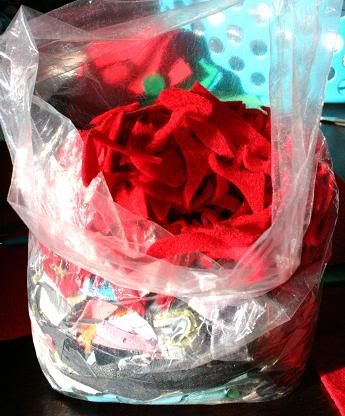
I keep all scraps and bits in a plastic bag. The fuller this bag gets, the more excited I get, I've got lots of plans for the scraps in there.
Take your ribbon, and line it across a table or other smooth surface. I then take my letters/circles and space them just below the ribbon so I can easily place them on the ribbon once I've added the glue.
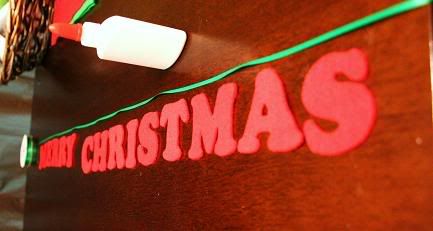 I use a small amount of glue along the ribbon and then place the letter on top of it. I press down just gently. The glue will grab the felt without too much pressure. If you add too much glue then the felt will just absorb it.
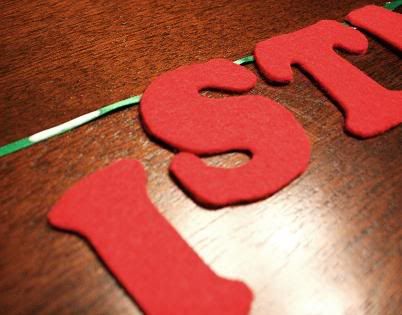
 Another use for this craft would be to add a name to a door. Here's my son's bedroom door. I hand stitched this particular one since It will see more use then a few Christmases.
4 comments:
I love the colours of your tree!
Your tree is beautiful ! Happy December 1st !
How gorgeous and original! Love the tree. :D
nifty tutorial, too... I may have to try that!
Yay! thanks for the compliment on my photos! I'd send you some of my coupons, but by the time they got to you they wouldn't do any good. ;-)
Post a Comment